How to Convert HEIC to JPG for Free — iPhone Photos Made Easy
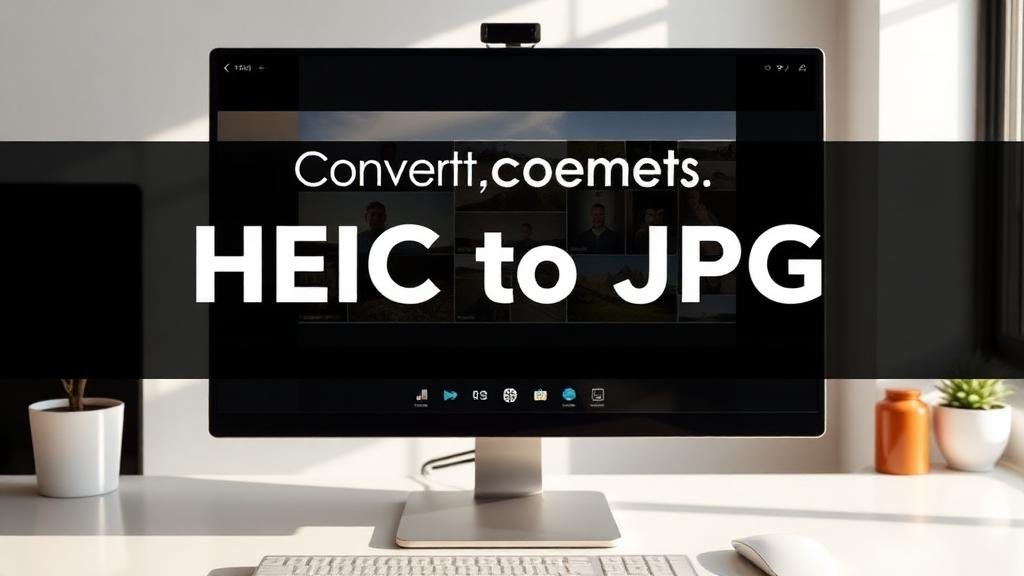
If you've ever tried to open an iPhone photo on a Windows PC, you've probably seen that frustrating moment: the file won't open. The reason? Apple uses a format called HEIC (High Efficiency Image Container), and most Windows programs, older Macs, and many websites still don't support it natively.
The good news: converting HEIC to JPG takes less than 30 seconds when you know where to go. This guide shows you exactly how — with zero software installation.
What Is HEIC and Why Does Apple Use It?
HEIC (also called HEIF — High Efficiency Image Format) was introduced by Apple in 2017 with iOS 11. The reason is practical: HEIC files are roughly half the size of JPG files at the same visual quality.
For Apple, this means your iPhone stores twice as many photos without filling up storage. For everyone else, it means compatibility headaches.
HEIC vs JPG: Quick Comparison
| Feature | HEIC | JPG |
|---|---|---|
| File Size | Smaller (50% less) | Larger |
| Quality | Excellent | Good to Excellent |
| Compatibility | Apple devices, newer Windows | Universal |
| Transparency | Supported | Not supported |
| Animation | Supported | Not supported |
| Web Support | Limited | Universal |
| Editing Software | Limited | All editors |
When You Should Convert HEIC to JPG
Not every situation requires conversion. Here's when you actually need to convert:
Sharing with non-Apple users — If your colleague uses Android or Windows 7/8, they likely can't open HEIC files without extra software.
Uploading to websites — Many website builders, forms, and CMS platforms still reject HEIC uploads.
Printing services — Most online print services (Shutterfly, Snapfish, Walmart Photo) require JPG or PNG.
Email attachments — HEIC files may appear as blank thumbnails in older email clients.
Social media — While Instagram and Facebook handle HEIC fine, smaller platforms may not.
If you're staying within the Apple ecosystem (iPhone to Mac to iPad), HEIC works perfectly and there's no reason to convert.
Method 1: Convert HEIC to JPG Online (Fastest)
The quickest method requires no software at all:
Open ZipDownloader.com in any browser
Select the Image Converter tool
Upload your HEIC file (drag and drop works too)
Choose JPG as the output format
Click Convert and download your file
This works on any device — Windows, Mac, Chromebook, even your phone. Files are processed securely and aren't stored on any server.
Why Online Conversion Beats Desktop Software
No installation — Your hard drive stays clean
Always updated — No need to check for software updates
Cross-platform — Works on any device with a browser
Batch support — Convert multiple files at once
Free — No trial periods or hidden upgrade prompts
Method 2: Convert on iPhone Before Sharing
You can set your iPhone to automatically share photos as JPG:
Open Settings → Camera → Formats
Select Most Compatible
This forces the camera to shoot in JPG instead of HEIC going forward. For existing HEIC photos, use AirDrop or email — iOS automatically converts to JPG when sharing with non-Apple devices.
Method 3: Convert on Windows
Windows 10 and 11 can handle HEIC files if you install the free HEIF Image Extensions from the Microsoft Store. Once installed:
Open the HEIC file in the Photos app
Click Edit & Create → Edit
Make any adjustments (or don't)
Click Save a Copy and choose JPG
This works but is slow for batch conversions. For multiple files, the online method at ZipDownloader.com is significantly faster.
Method 4: Convert on Mac
Mac handles HEIC natively, making conversion straightforward:
Open the HEIC file in Preview
Click File → Export
Select JPEG from the format dropdown
Adjust quality slider (80% is usually the sweet spot)
Click Save
For batch conversion, select multiple files in Finder, right-click, and choose Quick Actions → Convert Image.
Quality Settings: Finding the Sweet Spot
When converting HEIC to JPG, you'll usually see a quality slider. Here's what the numbers actually mean:
100% quality — Virtually identical to the original. Large file size. Use for archival or professional printing.
90% quality — Imperceptible difference to human eyes. 30-40% smaller than 100%. Best general-purpose setting.
80% quality — Slight softening in zoomed-in details. 50-60% smaller than 100%. Great for web use and email.
70% quality — Noticeable artifacts in gradients and sky areas. Fine for thumbnails and previews.
Below 60% — Visible quality loss. Only use when file size is critical.
For most people, 85-90% is the ideal conversion quality. You get files that look identical to the originals while keeping file sizes manageable.
Common HEIC Conversion Problems (and Fixes)
"My converted JPG looks washed out"
This usually happens because HEIC supports a wider color gamut (Display P3) than JPG (sRGB). When converting, colors outside the sRGB range get clipped. Solution: Use a converter that handles color profile conversion properly. ZipDownloader.com handles this automatically.
"My Live Photos lost their motion"
Live Photos are essentially a short video clip plus a still image. When you convert to JPG, you only get the still frame. If you need the video portion, export it separately as a MOV or MP4 file from your Photos app.
"The file size actually got larger"
This can happen when converting a heavily compressed HEIC to a high-quality JPG. HEIC compression is more efficient, so the same visual quality requires more data in JPG format. Try lowering the JPG quality to 85% — you'll get a smaller file with no visible difference.
"EXIF data is missing after conversion"
Some basic converters strip metadata (date, location, camera settings) during conversion. A good converter preserves this data. ZipDownloader.com keeps all EXIF data intact by default.
How to Stop Your iPhone from Shooting HEIC
If you'd rather avoid conversion altogether:
Open Settings on your iPhone
Tap Camera
Tap Formats
Select Most Compatible
Your phone will now shoot JPG photos and H.264 video. The trade-off: you'll use roughly twice the storage space. If you have a 256GB or larger iPhone, this trade-off is usually worth the convenience.
Batch Converting Hundreds of HEIC Files
Migrating an entire photo library? Here's the efficient approach:
Connect your iPhone to your computer via cable
Copy all HEIC files to a folder on your desktop
Go to ZipDownloader.com
Upload the batch (most converters accept 20-50 files at once)
Convert all at once
Download the converted JPG files
For truly massive libraries (thousands of files), consider doing this in batches of 50-100 to avoid browser memory issues.
The Bottom Line
HEIC is a technically superior format — better compression, wider color support, and modern features. But JPG remains the universal standard that works everywhere.
The smartest approach: keep your originals in HEIC (they're smaller and higher quality), and convert to JPG only when you need to share or use them outside the Apple ecosystem. With online tools like ZipDownloader.com, conversion takes seconds, not minutes.
Written by Waseem, a software developer with 8 years of experience in web tools, file systems, and data processing. Founder and lead developer of ZipDownloader. Learn more about us →
Ready to try it yourself?
Use our professional tools to process your files safely and instantly in your browser.