How to Optimize Images for Website Speed — A Practical Checklist
Images account for an average of 50% of a web page's total weight. If your website loads slowly, images are almost certainly the primary reason. The good news: image optimization is one of the easiest and most impactful performance improvements you can make.
Why Image Optimization Matters
Speed affects revenue. Amazon found that every 100ms increase in page load time reduced sales by 1%. Google found that a half-second delay reduced traffic by 20%.
Speed affects SEO. Google uses page speed as a ranking factor. Core Web Vitals — which heavily involve image loading — directly impact your search rankings.
Speed affects users. 53% of mobile users abandon a page that takes more than 3 seconds to load. If your images are 5MB each, you're losing visitors before they see your content.
The Optimization Checklist
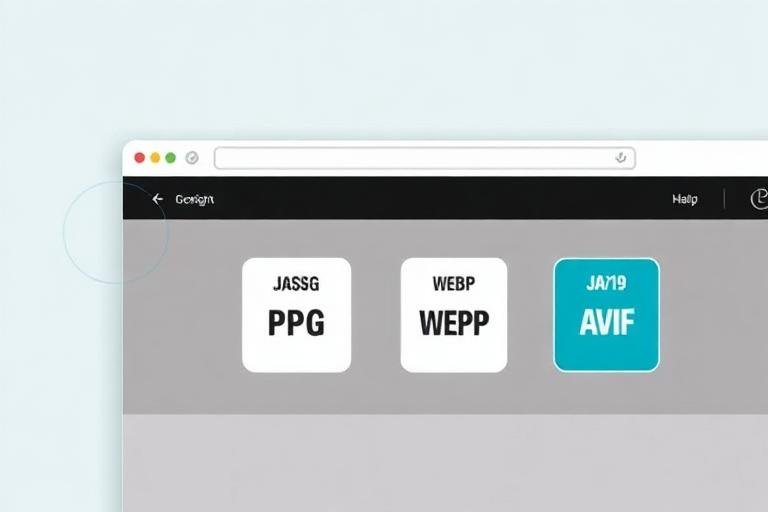
1. Choose the Right Format
| Image Type | Best Format | Why |
|---|---|---|
| Photographs | WEBP (or JPG) | Lossy compression works great on photos |
| Screenshots | WEBP (or PNG) | Sharp edges need lossless or careful lossy |
| Logos | SVG | Scales to any size, tiny file |
| Icons | SVG | Same reason as logos |
| Simple graphics | WEBP (or PNG) | Few colors compress well |
| Animated content | GIF or MP4 | GIF for short loops, MP4 for longer |
The switch to WEBP alone can reduce image file sizes by 25-35% compared to JPG with identical visual quality.
2. Resize to the Display Size
The number one optimization mistake: serving images larger than they'll be displayed.
If an image displays at 800×600 pixels on your website, the source image should be 800×600 (or 1600×1200 for retina displays). A 4000×3000 source image is wasting bandwidth.
Calculate: Display size × 2 (for retina) = optimal image size
3. Compress Appropriately
For JPG/WEBP, quality settings between 75-85% are the sweet spot:
Below 75%: visible quality loss
75-85%: invisible quality loss, significant size reduction
Above 85%: diminishing returns on file size reduction
4. Use Lazy Loading
Images below the fold (not visible when the page first loads) should use lazy loading:
<img src="image.webp" loading="lazy" alt="Description">This single attribute tells the browser: don't download this image until the user scrolls near it. For pages with many images, this dramatically improves initial load time.
5. Serve Responsive Images
Different devices need different image sizes. Use the srcset attribute:
<img
  srcset="image-400.webp 400w, image-800.webp 800w, image-1200.webp 1200w"
  sizes="(max-width: 600px) 400px, (max-width: 1200px) 800px, 1200px"
  src="image-800.webp"
  alt="Description"
>
This lets the browser choose the smallest image that fits the current viewport.
6. Use CDN for Delivery
A Content Delivery Network (CDN) serves images from servers geographically close to the user. This reduces latency and speeds up downloads.
7. Add Proper Alt Text
While not a speed optimization, alt text improves SEO and accessibility. Every image should have descriptive alt text that includes relevant keywords naturally.
Real-World Impact
Here's a real example of what optimization achieves:
Before optimization:
20 images on page
Average size: 1.5MB each
Total image weight: 30MB
Page load time: 8.2 seconds
After optimization (WEBP, resize, compress, lazy load):
20 images on page
Average size: 120KB each
Total image weight: 2.4MB
Page load time: 2.1 seconds
That's a 92% reduction in image weight and a 74% improvement in load time. Same visual quality.
Tools for Optimization
You don't need expensive software. Free tools that work:
ZipDownloader.com — Convert between formats (JPG → WEBP) and compress images
Squoosh (by Google) — Visual quality comparison with real-time preview
PageSpeed Insights — Analyze your page and get specific image recommendations
WebP converter — Batch convert existing images to WEBP format
The Quick-Start Approach
If you can only do three things:
Convert all images to WEBP (25-35% instant savings)
Resize to 2× display size (often 50-80% savings)
Add lazy loading (faster initial load)
These three steps alone will likely cut your page weight in half and significantly improve your Core Web Vitals scores.
Written by Waseem, a software developer with 8 years of experience in web tools, file systems, and data processing. Founder and lead developer of ZipDownloader. Learn more about us →
Ready to try it yourself?
Use our professional tools to process your files safely and instantly in your browser.