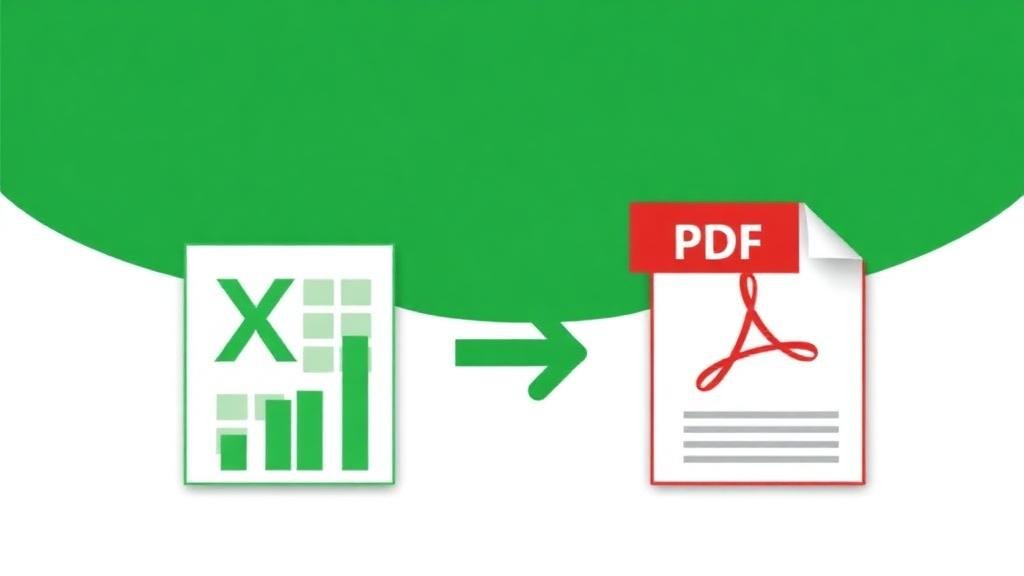
Excel to PDF: How to Convert Spreadsheets Without Breaking the Layout
If you've ever converted an Excel spreadsheet to PDF and had columns run off the page, rows split across two pages, or headers disappear entirely, you're not alone. Excel-to-PDF conversion is notoriously finicky because spreadsheets weren't designed with fixed-page layouts in mind.
A spreadsheet can have 50 columns and 10,000 rows. A PDF page is 8.5 × 11 inches. Something has to give.
Here's how to make it work properly.
Why Excel to PDF Breaks So Often
The core problem is that Excel is a dynamic layout. Columns resize. Rows expand to fit content. The view adapts to your screen. PDF, on the other hand, is a fixed layout — every element has a precise position on a precise page size.
When you convert without preparation, the converter does its best to fit your spreadsheet onto pages, but it often:
Cuts columns at arbitrary points
Splits rows across page breaks
Loses or repositions headers
Changes font sizes to fit more content
Produces dozens of pages for a relatively small dataset
Step 1: Prepare Your Spreadsheet
Before converting, set up your spreadsheet for printing. Yes, even though you're creating a PDF, the "print" settings control how the PDF looks.
Set the print area:
Select the cells you want in the PDF
Page Layout → Print Area → Set Print Area
This ensures only your relevant data is converted, not empty columns stretching to column ZZ.
Adjust page orientation:
Wide spreadsheets (many columns): Use Landscape
Tall spreadsheets (many rows): Use Portrait
Page Layout → Orientation → Landscape or Portrait
Set margins:
Page Layout → Margins → Narrow (for maximum content area)
Or set custom margins: 0.5 inches on all sides works well for most spreadsheets
Step 2: Handle Wide Spreadsheets
If your spreadsheet has more columns than fit on one page:
Option 1: Scale to fit
Page Layout → Scale to Fit → Width: 1 page
This shrinks everything to fit on one page width. Works well if you have up to ~15 columns. Beyond that, text becomes too small to read.
Option 2: Select key columns only
Hide unnecessary columns before converting
Set the print area to include only the columns that matter
Option 3: Split into multiple sheets
Put columns 1-8 on one sheet and columns 9-16 on another
Convert each sheet to a separate PDF, then merge them
Step 3: Add Headers and Footers
Professional spreadsheet PDFs include:
Document title in the header
Page numbers in the footer
Date of generation
Company name or confidentiality notice
In Excel: Insert → Header & Footer → choose from preset options or customize.
Step 4: Control Page Breaks
Excel automatically decides where pages break, and it's often wrong. Take manual control:
View → Page Break Preview
Drag the blue dotted lines to set page breaks where they make sense
Keep related data groups together on the same page
Pro tip: Insert a page break before each new section or category in your data. This makes the PDF much easier to navigate.
Step 5: Repeat Headers on Every Page
This is the single most important setting for multi-page spreadsheet PDFs:
Page Layout → Print Titles
Set "Rows to repeat at top" to your header row(s)
Set "Columns to repeat at left" to your row label column(s)
Without this setting, page 2 onwards shows data without column headers, making it impossible to understand what each number means.
Converting Online
For a quick conversion without fussing with Excel's print settings:
Visit ZipDownloader.com
Upload your .xlsx or .xls file
The converter handles layout optimization automatically
Download your PDF
The online converter handles most spreadsheets well without manual preparation. For complex spreadsheets with specific layout requirements, the manual preparation steps above give you precise control.
Common Excel-to-PDF Problems and Solutions
Problem: Gridlines not showing
Solution: Page Layout → check "Print" under Gridlines
Problem: Charts look different in PDF
Solution: Right-click the chart → select "Move Chart" → move to its own sheet for better rendering
Problem: Cell colors not printing
Solution: File → Options → Advanced → scroll to "Display options for this worksheet" → check "Show page breaks"
Problem: Formulas showing instead of values
Solution: Formulas tab → uncheck "Show Formulas"
Problem: Too many blank pages
Solution: Press Ctrl+End to find the last used cell. Delete any content or formatting beyond your actual data range.
The Bottom Line
Excel-to-PDF conversion works beautifully when you prepare your spreadsheet first. Set print areas, adjust scaling, repeat headers, and control page breaks. These five minutes of preparation prevent hours of frustration with broken layouts and unreadable output.
Written by Waseem, a software developer with 8 years of experience in web tools, file systems, and data processing. Founder and lead developer of ZipDownloader. Learn more about us →
Ready to try it yourself?
Use our professional tools to process your files safely and instantly in your browser.